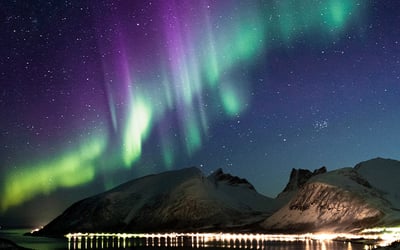
Spanning the skies of the Nordics during the crisp winter months, the Northern Lights are a wonder that many travellers wish to capture through the lens of their camera.
If you are lucky enough to experience Aurora Borealis in the Nordics, we are pretty positive you’ll wish to create the best Northern Lights photography to hang on your wall, post on your social media page, or simply show your friends and family back home.
Here at Booknordics.com, we have created this informative blog, helping you to easily fulfil that desire. After reading this and our Introduction to the Northern Lights blog, you will be equipped with the knowledge and skills to create a masterpiece and become a Northern Lights photography expert.
Where to See the Northern Lights
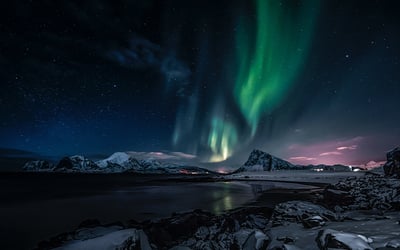
Northern Lights are visible in the Nordic countries
Did you know the Auroral Oval is a belt around the magnetic poles of the Earth?
Towards the North Pole and inside the Auroral Zone lies Norway, Sweden, Iceland, Finland, Greenland and the Faroe Islands. Each Nordic destination offers unique chances and marvellous Nordic adventures to capture the greatest Northern Lights photograph.
Depending on where in the Auroral Zone you are, you can see the Northern Lights upon the closing of autumn in late August, distinctively throughout the solid winter months and as late as the bloom of spring in early April.
No matter what time you choose to seek the great lights, be sure to have the following photo tips in mind to help preserve the mystical wonder into a glorious piece of art.

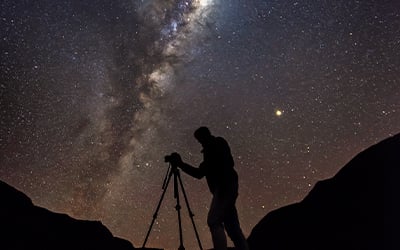
The Nordic Night Sky
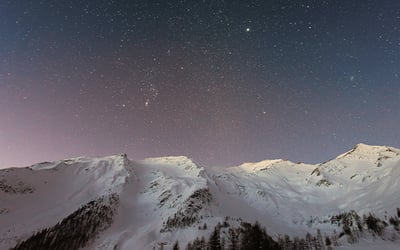
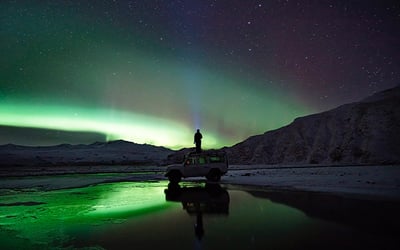
The breathtaking Nordic night sky
The night sky has a lot to offer and every night is as unique as the last. Understanding the elements of night sky photography will help you capture events happening above that you would not otherwise see from the naked eye.
In astrophotography (astronomy photos), it's crucial to understand the settings that your camera requires. Differing from those used in the daytime, cameras will need to be adapted to capture the tiniest of details surrounded when by darkness. Whether you are photographing nighttime auroras, star trails or the milky way, this will bring you the difference between a murky picture and a clear picture.
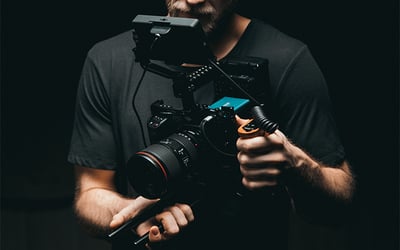
Tips to Capture the Perfect Photo like a Pro
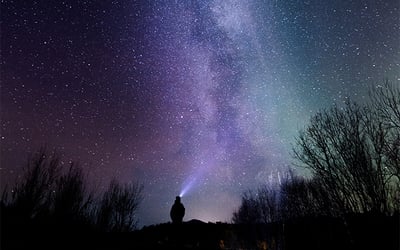
Learn how to take the best images like a pro!
With your camera at the ready, these extra 7 top tips will help you plan, execute, and capture that inspiring and award-winning photograph like a professional.
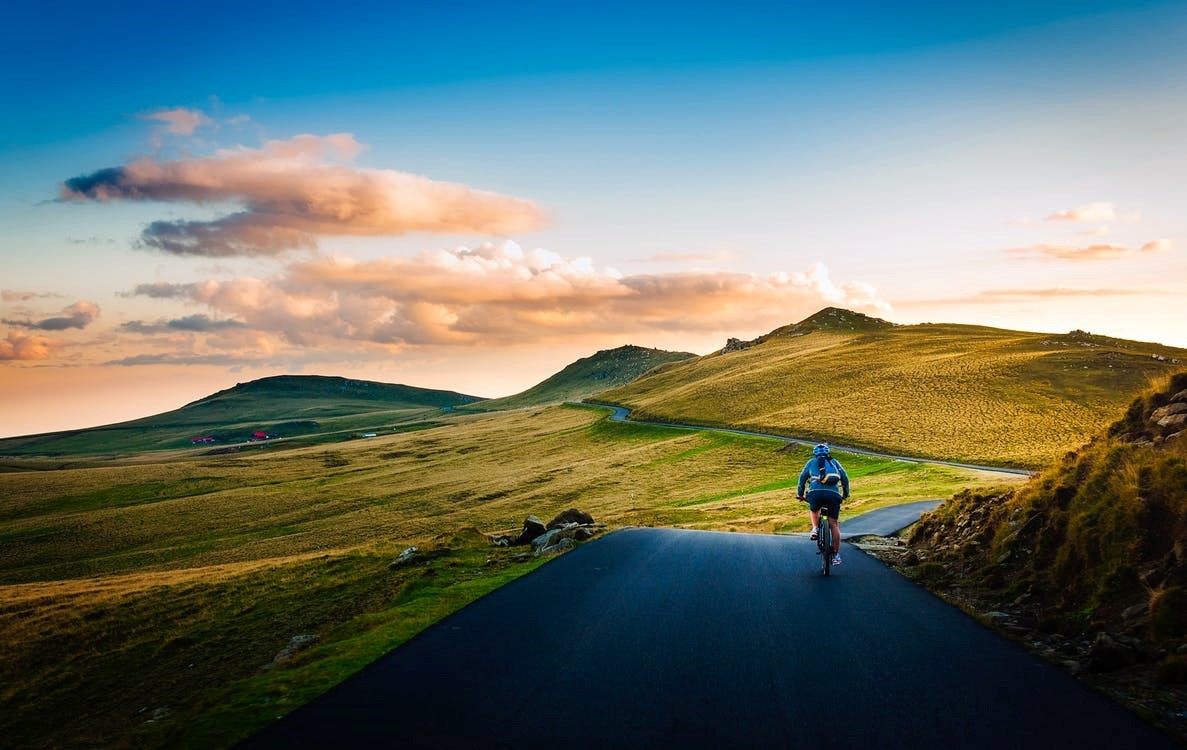
1. Be Patient
Lady Aurora is an unpredictable force, in case you do not instantly set eyes on her, a little reassurance and a little patience can go a long way.
Pack your thermals, fill your backpack with treats, head to a remote part of the wilderness away from the city, and set up your camera in the perfect spot.
Why not light a campfire, munch on grilled sausages, and hold hands with your loved ones as you await her entrance, which can happen at any moment.
2. Travel Away From City Lights
For a more intense and radiant appearance of the Northern Lights, you may need to venture as far away from rural land as possible. Even a sprinkle of light pollution can play with auroral sightings, therefore, the city lights will need to be left behind.
Whether your ideal spot is at the top of a mountain, outside in the forestry wilderness, surrounding an open lake or onboard the Arctic Ocean, you’ll need quietness and an unrestricted sky view for the best possible photo opportunities of the Northern Lights.
Travelling alone, as a couple or in a large group will not affect your chances, Booknordics.com has endless adventures to choose from for all traveller types.
3. Get to the Perfect Location Early
The Northern Lights are a one-of-a-kind natural wonder and no two shows are the same.
As discussed earlier, astrophotography is a skill that your camera creates but only with a little love from you - and this takes some time. You’ll need to set your camera to the correct night sky photography settings and you are at a greater advantage to do this during the daytime when the long exposure settings are sharper.

Be the one who captures the beauty first of Lady Aurora!
Picking the ideal spot to capture the road maps of the night sky is the key to success for an expertly taken night sky photograph. That, and setting your tripod for sturdiness and astrophotography victory.
Booknordics.com recommends that you find your perfect viewing place, use our informative guide to help you set up your camera and don’t waste your time looking down. Instead, look up at the sky as Lady Aurora paints her celestial masterpiece and allow her to take your breath away.
4. Check the Northern Lights Forecast
The biggest obstacle to seeing the Northern Lights is the weather; typically the Green Lady is somewhat more prevalent during the darker, clearer nights.
Booknordics.com absolutely recommends that you check the local Aurora Borealis forecast in your chosen destination. As she has been studied for many years, avid Northern Lights hunters and devoted scientists use this forecast to show a degree of predictability in when, where and at what time she is likely to perform.
It is good to know that even if the moon or clouds attempt to dance with the Northern Lights, the moving show may be less vivid, yet equally remarkable. Be sure to have your camera ready - it may pick up distinct colours you cannot see with your naked eye.
5. Stay In or Above the Arctic Circle
Majestic views, breathtaking landscapes, clear skies
- all and more!
We highly recommend you venture as far north as possible to enjoy greater chances of seeing the auroral display of swift colour changes.
Although deemed an extremely rare sighting and not the usual norm, it is not unheard of that viewings of the Northern Lights have been seen from as south as the Norwegian capital, Oslo.
Nevertheless, anywhere within or north of the Arctic Circle is a prime destination for uncovering the celestial veil of greens, pinks, purples and sometimes even blue swirls throughout the sky.
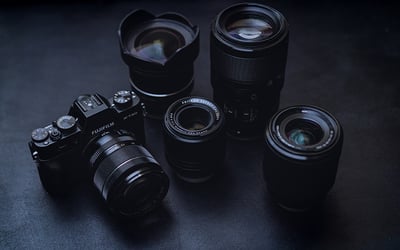
What Camera is the Best to Capture the Northern Lights?
Here comes the truth!
The golden question. The golden answer.
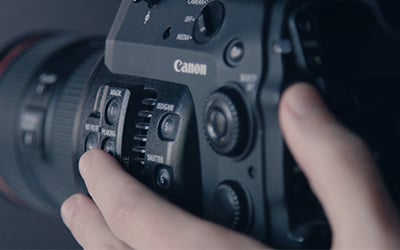
We have come to realise, the best camera to capture the Northern Lights is a camera that has manual mode functionality. A digital single-lens reflex camera (DSLR), preferably full-frame and a bonus with a wide-angle lens, is perfectly ideal for attaining an incredible photograph.
A DSLR camera is an advantage for shooting a night sky photograph, it offers manual mode, an optical viewfinder allowing you to capture great photos in low light, the battery life can last anywhere up to 3 days, and most have added rubber housing and sealing on the body and around the buttons making those parts more resistant to moisture. Perfect for those Arctic weather conditions.
Basic Camera Settings
Optimal exposure camera settings to maximise your skills!
Wintertime especially can be very crucial for cameras, therefore major technical settings need to be applied. Follow these optimal exposure camera settings for taking spectacular pictures of the Northern Lights.
- Turn on Manual Settings and Turn Off the Flash
- Bring a Tripod
- Adjust Your Shutter Speed
- The Right Lens and the Right Aperture
- Set the White Balance to ´daylight´
- Zoom Settings
- ISO
- Remember the Extras
1. Turn on Manual Settings and Turn Off the Flash
Turn off the flash
This is an essential part of capturing the best photographs of Lady Aurora.
It is important to be able to manually control your camera equipment and adjust the settings accordingly. Also, switch off the flash to avoid any unnecessary lighting in your photo.
As previously discussed, the Northern Lights appear differently during each revealing - be sure to be ready.
2. Bring a Tripod
Let your tripod keep your camera steady
There is nothing worse than having all your photographic equipment raring to go and on the brink of seizing the most incredible photograph of the Northern Lights, you suddenly lose your balance at the last moment.
Do not let this happen, bring your trusty tripod with you for support.
3. Adjust your Shutter Speed
Adjusting your shutter speed will help capture a great photo
Depending on the tempo of the Northern Lights, you will need to adjust your camera's shutter speed. If the Northern Lights are frequently changing, adjust as she goes.
From our experience - soft lights will require between 15-30 seconds shutter speed and strong lights will require between 1-6 seconds shutter speed.
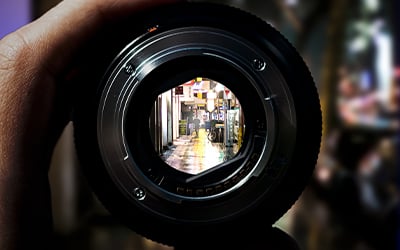
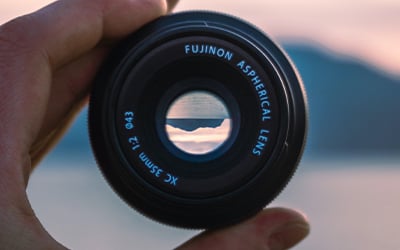
4. The Right Lens and the Right Aperture
A good wide-angle lens will allow you to cover as much of the auroral sky as possible. Ideally, you’ll need a lens that can be set to a fast aperture (f-stop) between f2.8 and f4, depending on your camera.
5. Set the White Balance to 'daylight'
Set the white balance to ‘daylight’. This ensures the light in the photos isn’t too yellow or blue.
6. Pre-set your Focus by Adjusting your Zoom Settings
Pre-set your focus and zoom out as much as you can
Zoom out as much as you can - set to the infinity symbol if possible: ∞
Another tip is to pre-set your focus during daylight hours, this will enable you to focus clearly and find the right focal point easily. You can mark your lens at this spot so that later in the dark when you’re hunting the Northern Lights, all you need to do is set the lens to the right position.
7. ISO
The ISO is 'fake light' and depends highly on how much extra light you need from where you are.
We recommended starting your ISO at 1,600. Play with this when you are alone with the lights. If your shutter speed is long (15-30 seconds), your ISO can be lower, and therefore, your picture quality will be better.
8. Remember the Extras
While out in the wilderness, make sure you don’t miss a moment. Spark up a campfire, lay down on a blanket, munch on your snacks, and pour delicious warming juice from your flask all while wrapped up in your thermals. With your camera in place - you are now set for the evening.
Additionally, remember your spare batteries and your memory card too - just in case!
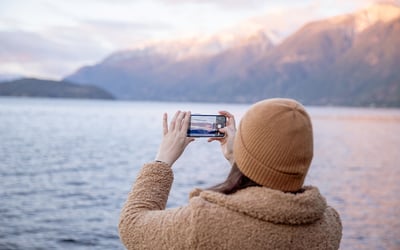
Smartphone Photography
Charge the batteries full and head over to a Nordic tour!
Most of you are probably wondering whether you can take pictures with your smartphone? We are happy to inform you that yes, you can capture great pictures of the Northern Lights with an android or iOS phone.
You will need to adjust the shutter speed as well as enable night mode in order to grasp a clean photo, and a tripod is also required for stability.
There has been a huge amount of auroras caught on smartphones and is definitely worth a try. Why not try your luck with both your camera and your phone? The more opportunities the merrier!
Book a Nordic Adventure Tour
What are you waiting for?
The mathematical judgement shows that you are more likely to encounter the magical Northern Lights should you venture out into the unknown wilderness more than once. Therefore, we advise you to plan your Nordic trip for as long as possible.
Remember, the weather is as unpredictable as the lady herself. If you have an unfortunate night on your first and only night in the Nordics, you and your camera will soon discover that it was a risk not worth taking.
Join Booknordics.com Today
We have produced our most top-quality tours in Norway, Finland, Iceland and Sweden for you to experience something like no other while crisscrossing your newfound skills on seizing the greatest photo of all time.
If you like what you see, sign up for our newsletter to stay up to date on all our fantastic tours, helping create outstanding memories in the Nordics.
Happy hunting!
.jpg)